Screen Printing Defects: The Complete Field Guide
A working atlas of the print defects you will actually meet on a production line — what each one looks like, why it happens, and how it is usually fixed. Each entry links to a deep-dive guide.
Every screen print defect you will ever troubleshoot belongs to a short, finite list. The ink edge that feathers, the pinhole that appears after curing, the ghost image that refuses to wash out — they look mysterious the first time and obvious the hundredth time. This page is the map: a working atlas of the defects you will actually meet on a production line, grouped the way you meet them, with a short diagnosis for each.
Each entry below is being expanded into its own deep-dive guide with close-up photos, root-cause trees, and fix checklists. New entries are added as the guides go up — bookmark this page if you troubleshoot prints regularly.
The defect atlas
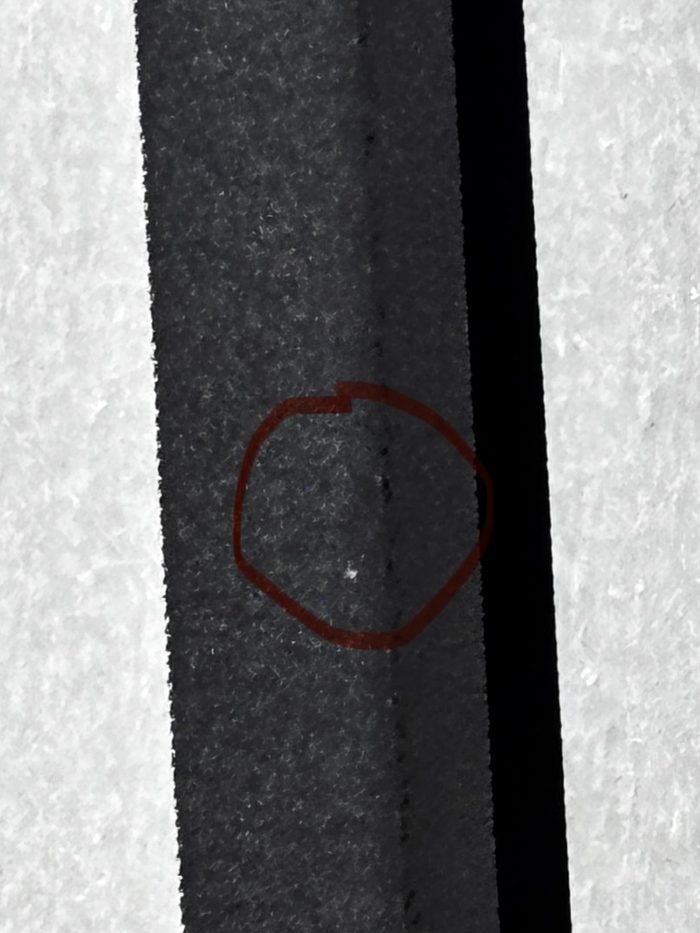
Pinholes
Small round voids in the printed film where ink never transferred or pulled back. On the line they usually trace back to dust or oil on the substrate, a screen that was not fully cleared, or ink that skins over in the mesh between strokes. Pinholes are the single most common reason a first-article inspection fails.
Deep-dive guide — coming soon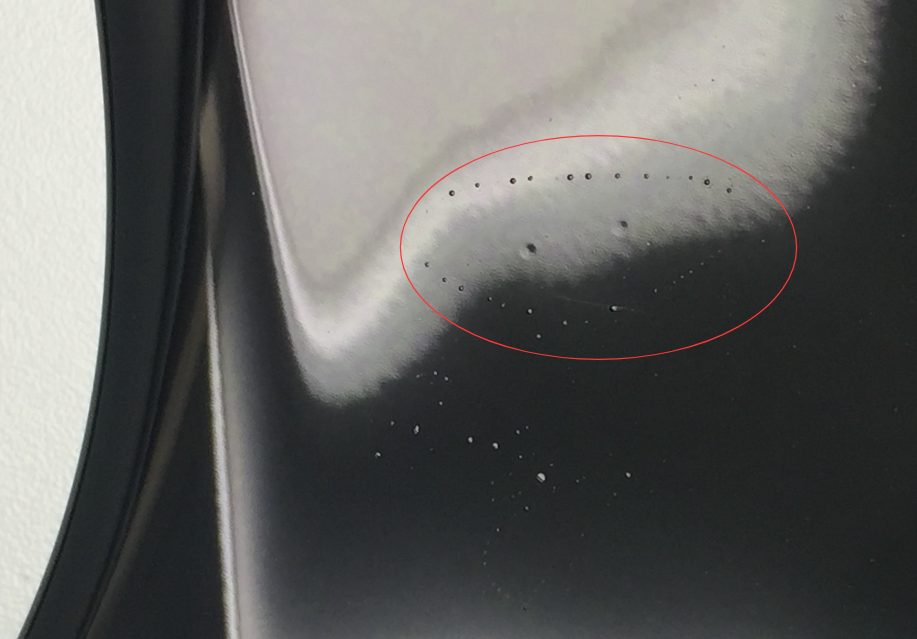
Fisheyes (cratering)
Circular craters where the wet film pulls away from a spot it cannot wet, leaving a rim around a bare center. Almost always a surface-energy problem: silicone, oil mist, or release-agent contamination on the substrate or in the air near the press.
Deep-dive guide — coming soon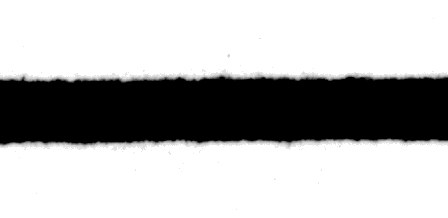
Bleeding & feathering
The printed edge spreads outward in fine hairs instead of staying crisp. Classic causes are ink thinned past its window, too much squeegee pressure driving ink under the stencil, or a mesh count too open for the detail being printed.
Deep-dive guide — coming soon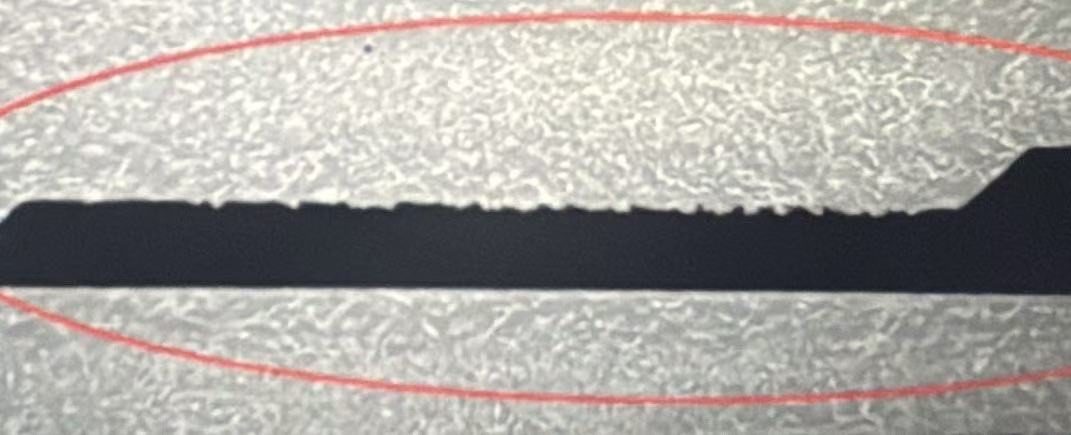
Sawtoothing (jagged edges)
Straight lines and type come off the screen with stair-stepped edges. This is mesh geometry showing through the stencil: thread diameter, mesh angle, and emulsion thickness decide whether a line prints clean or serrated.
Read the deep-dive guide →Moiré
An interference pattern — wavy, plaid-like banding — that appears when halftone dots fight the regular grid of the mesh. A film-angle and mesh-count problem, fixed at the exposure stage rather than on the press.
Deep-dive guide — coming soonGhosting (image haze)
A faint shadow of a previous design that survives reclaiming and prints — or shows — on the next job. Ink pigments stain the mesh threads and hardened emulsion residue stays behind; once it ghosts, chemistry, not scrubbing, is what removes it.
Deep-dive guide — coming soonPoor adhesion (peeling, cross-hatch failure)
The cured ink film lifts at the edges, flakes under tape, or fails the cross-hatch test. Root causes live in three places: the substrate surface, the ink system's match to that substrate, and the cure schedule. This is the defect that costs you the customer, not just the part.
Deep-dive guide — coming soonMesh marks (orange peel texture)
The dried ink surface keeps the imprint of the mesh instead of leveling flat. Ink rheology, off-contact distance, and snap-off speed all play a part; heavy deposits from low mesh counts make it worse.
Deep-dive guide — coming soonHow to use this atlas
Start from the defect you see, not from the setting you suspect. Match the photo, read the short diagnosis, and only then open the deep-dive guide for the full root-cause tree. Most recurring defects on a real line come from a small set of habits — screens not fully cleared, ink windows drifting as thinner flashes off, substrates handled bare-handed — and the deep-dive guides are organized around finding which one is yours.
Photos for each entry are being shot on real defects as they occur and will be added entry by entry.